Today I released a simple React-Native game on the App Store with the aim of providing some tips on how to handle small React-Native projects like this one. The game is, of course, completely open-source, you can find the repository on GitHub and in the App Store.
Protip: You can find this same Medium article in the GitHub's README.md and on my personal website. They might be easier on the eyes given the fact that there's some code ahead.
Tap The Number! is a simple React-Native game where you have to tap the tiles that appear on the screen in a specific order.
Even if developing this game didn’t take too much time (I should have put in it ~20 hours I guess) it has been a fun ride and I’d like to share some tips and some info on the complexities I found during its development.
The stack and the dependencies
React-Native
Tap The Number is built entirely with React-Native, which has been an obvious choice for me given the fact that I love React/React-Native and I use it on a daily basis at my current workplace. React-Native comes with Jest, a test framework that shines when coupled with React.Related dependencies:
State management: MobX
I started this project using Redux for handling the state management, but after a while I noticed that, being a simple project, it was slowing me down, so I seized the opportunity and implemented MobX.This is not the first time I used MobX, but this time I tried using its provider and inject à la Redux, and I really liked it!Related dependencies:
Static type checking: Flowtype
Flowtype is a static type checker. I’ve been using it for a while now and it saved me A LOT of time. I can’t praise it enough.
I strongly suggest you to give it a try, or better still stick with it for some days for seeing its real benefits.
Related dependencies:
Linting: ESlint and Prettier
I wasted way too much time in the past tweaking my ESlint configuration.Now I’m super happy with a minimal ESlint config and with Prettier, which takes care of all the code styling of my application.Related dependencies:
Importing from absolute path: babel-plugin-module-resolver
I use babel-plugin-module-resolver for importing files from the src path. Related dependencies:
Playing audio files: react-native-sound
If you need to play an audio file in a React-Native application you must use some kind of external library at the moment because it is not (yet) implement in React-Native out of the box.To me react-native-sound is the most complete library at the moment and it worked fine on this application.
P.S.: I’m pulling the library directly from its Github Master branch because the latest version available on NPM does not support React-Native 0.40 yet.
Related dependencies:
Simple animations: react-native-animatable
For simple animations react-native-animatable is the de-facto standard on React-Native.Related dependencies:
Project structure
Enough with the dependencies! Let's see the project structure:
The project structure I used may seem over-engineered at first, but this setup paid off almost instantly (continue below).
A bit of history
I started working on this game with a totally different idea in my mind: I wanted to play a bit with React-Native ART, and if you take a closer look at the commit history you’ll see that at some point I even implemented an animation similar to the Twitter’s heart one when tapping Tile.Unfortunately I had to drop the idea because React-Native suffers from small lags when you run multiple animations (in my case when tapping on tiles rapidly), but it seems that something is changing thanks to Native Driver.
At the time, I had already created the game engine and some components, so, instead of throwing away the project, I decided to turn it into this game.
Interesting stuff
Config files are your friends
I tried to gather all the variables that describe the app behaviour in the config directory. The config/metrics.js for example exposes all the application dimensions:
This setup, coupled with hot-reloading, came in super handy even for a simple game like this, because I’ve been able to concentrate most of the variables I needed to change in a single directory.
Relative dimensions
React-Native is not a game-development framework and one of the things you’ll miss a lot, if you’ll ever try to build a game with it, is a proper way to handle the camera/viewport.Tap The Number is a simple game though, so using relative dimensions is more than enough for its use case.Using relative dimensions means that instead of defining the dimensions of the views using the logical pixel units (which is the default unit of React-Native) you should define the dimensions relative to the device size (or to their parents).Following this approach will make your game resize automatically on bigger/smaller devices (even on tablets!) but it also has many drawbacks in my opinion:
- The more the app grows, the more dimensions you’ll have to define and keep track of;
- Handling screen rotation might become difficult (Tap The Game works only in portrait mode) ;
- If you’re using some native components you’ll might not be able to resize them ;
Speaking about dimensions, In Tap The Number I did something that I’m bit ashamed of: I tied the game engine to the device size, as you can see in getRandomTilePosition of utils/boardUtils.js:
When the app initializes the game board the above function searches for available tiles positions using a while-loop. I’m aware that this function can be optimized in many different ways, and that it can break if the device has a weird width / height ratio, but considering that:
- I’m targeting only iOS (>= iPhone 5);
- The maximum number of tiles on the board is 6;
- The tile size is 28% of the device width;
…I decided to opt for this solution for the sake of simplicity (and for keeping the code readable, but feel free to correct me if it seems too unreasonable).
One last thing: keep in mind that the React-Native <Text /> component does not scale the text based on the device size.This is one of the reasons I always use a custom wrapper over the built-in <Text /> component, so that I can change its default behaviour/font/color easily.To get the scaled font size you should do the following:
MobX (and src/utils) tips
Let’s be honest here: I love Redux and I use it daily, but for simple applications like this, MobX is more then enough. In fact, if you’re not interested in middlewares or in having a centralized pattern for dispatching actions, in my opinion MobX might be a better choice than Redux.
One thing I just recently started using with MobX is the provider + inject combo, which provides a nice abstraction on connecting components to the store (in a similar way to the Redux's mapStateToProps).
Another thing I’ve found really useful has been using abusing the src/utils and src/services folders: from my experience the MobX actions tend to get cluttered, so I prefer to keep them easy to read by minimizing the verbosity of the code. Talking about my utils functions... I'm a bit sad because they are not super pure -- they use the src/config files internally -- but if your application is bigger than mine I'd advise you to make them accepts those configs as parameters to make them testable.
P.S.: use @computed values whenever possible if you need to compute an observable value (just like Redux's selectors).
Animations, part 1: The animations library I used
In Tap The Number I animated the components in three different ways:
React-Native-Animatable
react-native-animatable is a wrapper of React-Native Animated API which exposes many simple animations and allows you to use them both programmatically and in a declarative way, embracing React's philosophy. If you don't need complex animations, interpolations or timings, react-native-animatable is a solid choice.
React-Native Animated API
I used the Animated API for the TimeBar animation in src/containers/Playground/TimeBar: I wanted to achieve an effect that required some manual tweaking, and the Animated API is the most flexible one of the lot. Specifically, I wanted to animate the TimeBar width and the TimeBar color from grey to red.
React-Native LayoutAnimationLayoutAnimation is a powerful way to animate the transitions between layout changes without the need to specify the animation behaviour. You just call LayoutAnimation.spring() or one of the other available configurations before calling setState and React-Native will animate the component that has been subjected to a layout change. You can see an example of it in src/components/Tile.js, where I animated the tile depth by calling LayoutAnimation.spring() just before this.setState({ isTouched: true });. The drawback of LayoutAnimation is, as you may have already guessed, that it provides much less control than the other animation alternatives.
Otherwise you’ll have to keep track of the animations state in your component’s state (e.g: this.setState({ isContainerFadingOut: true }) which adds a nice amount of unneeded complexity to your component's lifecycle.
Animations, part 2: React and animations
I’ll go straight to the point here:
In my opinion animations don’t get along nicely with React (and React-Native), and they never will.
I know that it might be a controversial opinion, but having tried many different libraries both on React-Native (and on React, for example React-Motion), I still think that animations move against the declarative React pattern. Don’t get me wrong here, you can still achieve a clean code while using small animations, but when you’ll start linking animations one after another you’ll end up doing it programmatically:
Otherwise you’ll have to keep track of the animations state in your component’s state (e.g: this.setState({ isContainerFadingOut: true }) which adds a nice amount of unneeded complexity to your component’s lifecycle.
…And last opinion: I don’t think that the clashing of the imperative nature of animations with the React's "declarativeness" can be solved easily (I’ll be super happy to be proved wrong though): after all, animating IS hard.
Android support
I was planning to release this game on Android too at first, but I had some issue that I’ve not been able to solve easily. The most annoying one was my inability to use custom fonts on Android: I tried linking the assets folder using react-native link (which works perfectly on iOS) and adding the fonts manually, but it seems that some fonts don't link correctly at all, while other works perfectly even when using the first method.The other issue I faced was a sluggish responsiveness in the animations (specifically when using LayoutAnimation), but I guess that I could have easily fixed them by investigating the issue a bit more.
Thanks to…
I’m not a creative guy at all: every single thing I used in this application is just a re-iteration of stuff I had already seen before.So, without further ado, here are all the sources I can think of that I used to build this simple game:
- Asset Catalog Creator for the iOS assets;
- The game background image that I’ve found on Google Images (sorry, I don’t know who the author is);
- freesound.org for the sound effects;
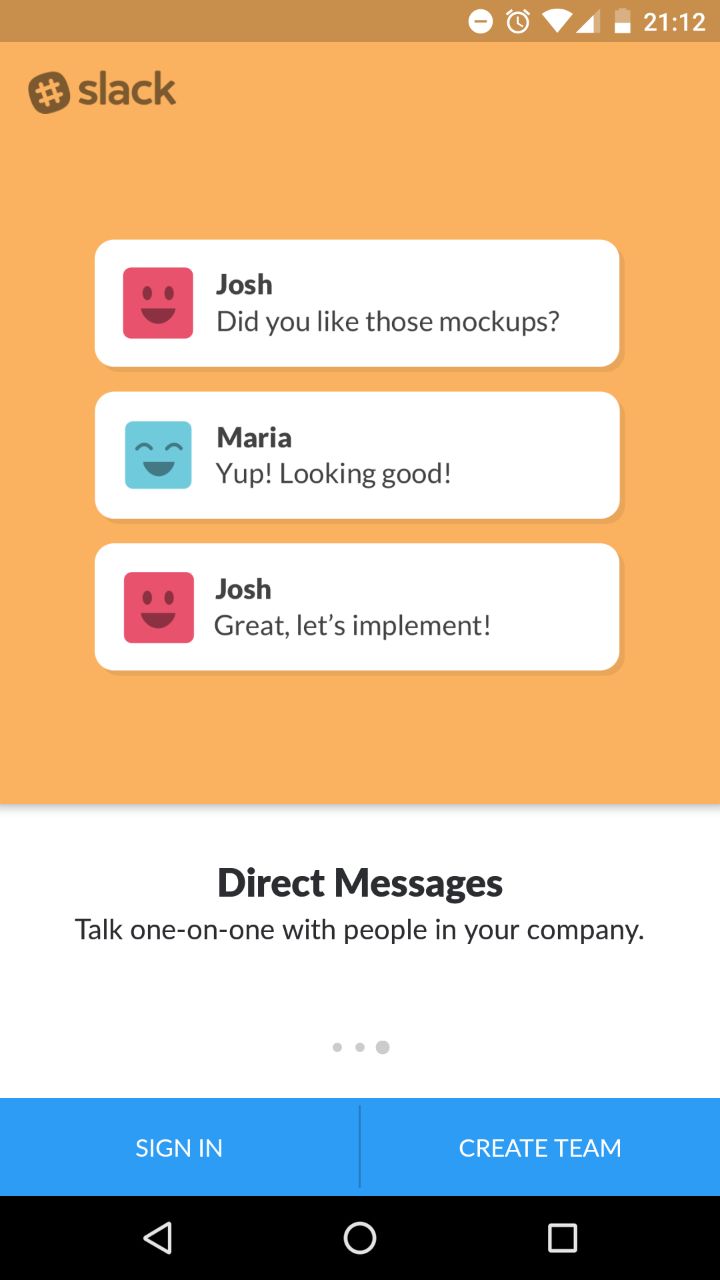
- This Slack image that inspired the design of the tiles;
- Mostaza, the startup where I work, for all the support (and for the App Store account too!)
- All the libraries I already linked and talked about in this post;
Forks, comments and critics are warmly welcomed, I just hope that this app example might be helpful to someone sooner or later!